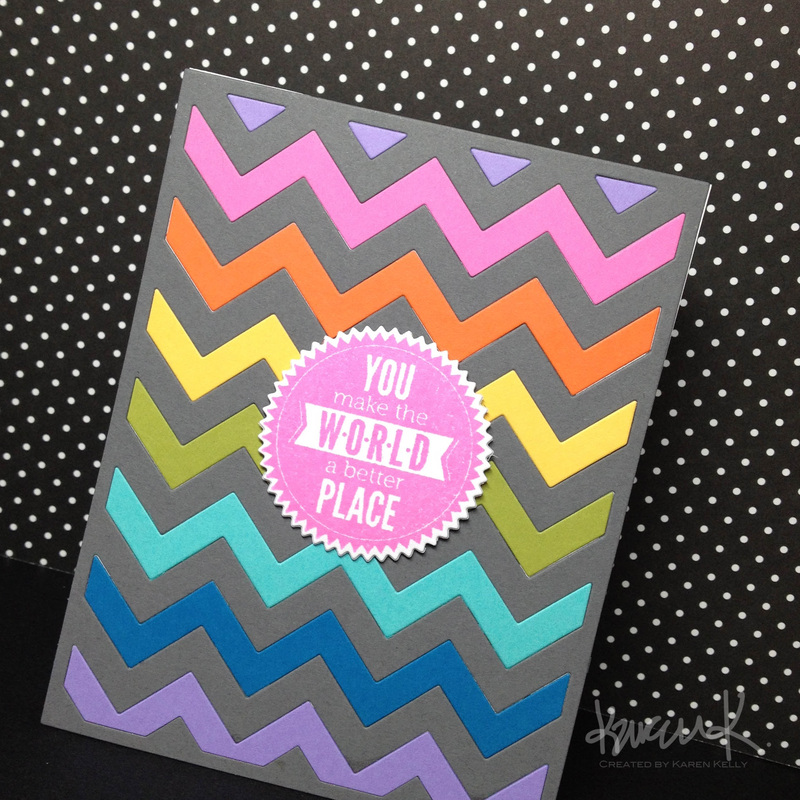
The joy of having a cold is that it's 8PM and I'm still in my pajamas since this morning. My daughter had a snow day, I took a sick day and because I'm just lounging around and taking it easy, I actually have time to make cards! Being sick isn't so bad after all! As I mentioned earlier, I signed up for this online card class all about one-layer cards. One of the techniques shared for this day's lesson was masking. Now, masking is something that I've known about for years--it's just that I don't think to actually use the technique very often. I bought a bunch of Eclipse masking paper when I CASEd this card of Kristina Werner's so I was ready to attempt masking using dies and punches. Jennifer McGuire showed how she made frames using dies and her cards were simply beautiful. She had this one card where she embossed an image and then colored it using several different colors and it was just so pretty that I had to try it. I used one of my Stampin' Up! framelits for the main frame and then used my extra large oval punch from SU! to mask out the center of the frame on my Neenah Solar White 110# card base. Once I had everything masked off on my card base, I used SU!'s Whisper White craft ink to stamp the background using an oldie but goodie--Filigree. I then heat embossed the image in white. I began coloring using a watercolor brush and my SU! markers but I wasn't getting the look I wanted so I switched to sponge daubers to finish inking the area. I didn't trust myself to try and use too many colors so I stuck with just the one shade of pink and let the variations occur naturally. Once I was done inking, I decided to outline the image before I peeled my masks off the card base. I used a really thin black ink pen whose brand escapes me (couldn't find my Copic multiliner!)...one of the only downfalls of being a bedtime blogger is that I'm literally in bed and can't just look at that pen and tell ya the brand :-). Anyway, with my mystery pen, I just carefully traced around the oval and then the inside of my framelit mask. I like the way the black helps the frame pop a little bit. I then used Versafine Onyx Black to stamp the sentiment in the frame center. I got to ink up another new stamp from Simon Says Stamp! which is a company I WISH I could work for--I'm pretty much a walking advertisement :-) I linked to the bundle with the balloon dies, but the stamp set can be purchased on its own for those not wanting the dies. I have another order arriving in a couple of days so I am very excited! My friend Ann and I were just discussing our ridiculous SSS wish lists....ah, dreamers. If you are interested in trying this technique but have no masking paper, try using computer paper instead with a little Washi to hold it in place. Needless to say, I'm enjoying this class so far and I think I will sign up for the ones they have offered in the past even though they aren't 'live'--I'm guessing the materials and lessons will be well worth the investment :-)
After hemming and hawing for a while about it, I bit the bullet today and registered for one of Kristina Werner's online card classes. The course is the third Clean & Simple one she's offered and its focus is one-layer cards. I guess I shouldn't say it is just Kristina's class--it is co-taught with Julie Ebersole and Jennifer McGuire and lots of guest artists. I have been a huge fan of Julie's work for years and while Jennifer McGuire is relatively new to me, I am very impressed with her work as well so I figured the class would be worthwhile. I registered a few days late so the class has already been underway, but I jumped right in and made this card featuring a technique using inlay diecuts shown by Debby Hughes. I've been wanting to make some rainbow chevron cards using my Chevron Coverplate from PTI so this opportunity was perfect. You might not be able to tell, but the 'You' is diecut out of the chevron background that I made and then filled back in with a black diecut. I stamped 'are the best' with my black Memento ink which doesn't look all that great because of the inlaid chevrons, but it's usable! This set is the same one I used a couple of weeks ago on this card--I tell you, I love this little stamp set and die from Simon Says Stamp! I used my 'cheapo' white 110# cardstock from Michael's for the card base and chevron frame and. The filler pieces were cut from scraps of Stampin' Up! cardstock that I had in my scrapbox...needless to say, I have LOTS of chevron frames and pieces leftover so it allowed me materials to make plenty of other cards! I needed to make some 'thank you' cards so I used this cute stamp from Stampin' Up!'s Starburst Sayings set and stamped it using a variety of inks and then used the coordinating framelit to cut the image. For the images stamped onto colored cardstock, I used Stampin' Up!'s Whisper White craft ink and then heat embossed using white embossing powder. Stamped 2/3 of my other images onto Whisper White...the pink one went onto a scrap of something--not sure what, but it was not Whisper White as you can tell since the coverage isn't as good. That Whisper White may not be great for card bases, but it IS great for stamping! Can't wait to share some other cards from this class with you! I'm going to visit my mom this weekend and am looking forward to seeing her--it's been way too long. I think Thanksgiving was the last time I saw her. Every time we've planned to get together in recent months, the weather has foiled our plans. Looks like the weather will cooperate this time! I made this card to pop in the mail today just to say, 'I love you' and to let her know I'm looking forward to seeing her. The stamp I used on this card is precious to me--my cousin in Korea had several custom stamps made for me while my sister was visiting many years ago (maybe 10?). I asked my sister to be on the lookout for some sentiments in Korean and since she couldn't seem to find a rubber stamp shop, my cousin went and had several sentiments and images custom made just so that my sister would have some to bring back for me. Such a thoughtful and generous act of love from a distant cousin I've never even met--or if I did, I was so young that I don't remember. It's sometimes really humbling/sad to think that I have all of these family members whom I don't really know. When my sister went to Korea, she was in a hotel lobby surrounded by so many Koreans milling around, yet when she saw my cousin and Emo (aunt) whom she hadn't seen since she was 4 across the way, she knew immediately that they were her family. She said it was incredible, this feeling of just knowing they were exactly who she was looking for--they had a tearful reunion and spent an evening together which unfortunately for my sister, ended with illness. Those family members took care of her and again, my sister talked about how easily they stepped into the role of caretakers and the comfort she felt being with them. Maybe someday I will get the chance to go back to Korea with my mom, sister and our daughters. Now, that would be pretty amazing! I decided to ink up another neglected stamp set for my card today. This set was purchased at least a year ago and I hadn't even added the labels onto the stamps--it was screaming neglect. I bought this set because I thought it would be cute for any little boy friends or cousins of M's. It seems that I'm always thinking about cards that I *need* at the very last minute so then the idea of creating something is just overwhelming and I have M just quickly draw and make her own card while my stamps go untouched. I went into this card design with no real plan. As a result, I spent way too long on it! I tried sticking to Stampin' Up! products but broke down and added the Washi tape which I am pretty sure I ordered online. Originally, I had hoped to stamp my sentiment next to the rocket ship above the Washi tape but I didn't pay attention to where I was stamping my little astronaut and he ended up too far to the right. I think I would have preferred the sentiment in that spot and considered redoing that card layer but then I reminded myself the recipient of this card (if there ever was one) would never notice or care about the sentiment's placement! I wanted to add some embellishment in those dots that run across the ship but I couldn't find the right element. I am thinking these Candy Dots would have been perfect and I KNOW I have a pack of the Brights...somewhere. Unfortunately, I couldn't find them so I will have to keep my eye out for those and try them later. I will post an update should I ever find them ;-) I found this super cute card which I Pinned thinking that I would love to CASE it someday--I think the Sale-a-Bration Banner Blast stamp set and/or punch would work great for the little banners in the background. Other supplies: Pacific Point, Crumb Cake, Whisper White cardstock, DSP is from a retired SU! pack (found it in my scrap box), Pacific Point, Gumball Green, Pumpkin Pie and Daffodil Delight inks (SU!) and Memento Tuxedo Black ink, Cuttlebug embossing folder. I decided to make a quick card since I had some free time tonight. I am on a mission to ink stamp sets that have never been inked before so I started with this sweet little set from Melissa J. designs over at Papertrey Ink. The Polka Dot Parade sets are great--they're small, cute and only $5. I have considered buying the alphabet set with the coordinating dies but I typically never use my alpha sets as much as I think I will so I will hold off for a while. This card came together rather quickly. I decided to use some of Stampin' Up!'s In Colors--Strawberry Slush and Coastal Cabana. They're a great spring combo and I'm all about thinking about spring right now! I stamped and cut out the bird and popped it up using Stampin' Up! dimensionals (my absolute favorite) and then added some Strawberry Slush trim at the bottom. Just saw that this trim is actually one of Stampin' Up!'s weekly sale items this week--grab it while it's marked down! Cardstock is my new favorite for card bases with stamping--the Neenah Classic Crest Solar White 110#. I maybe went a little overboard shopping at Simon Says Stamp! recently so you will be seeing some more of their products today. I actually started this card several days ago. I wanted to try the bold lines background stamp and the Audrey Blue ink so I first just stamped that background onto some Neenah Classic Crest Solar White 110# cardstock. The sentiment is from a set that I bought in conjunction with the stripes background set--you can see the bundle here. I stamped it with my Memento Tuxedo Black ink--I tell you what--I like that black as well as Versafine's black a lot better than Stampin' Up!'s--it's a truer black. Anyway, you can purchase the background or stamp set individually as well, but I would recommend both. I wasn't quite sure what to do after I added the sentiment...I didn't really want to cover my pretty aqua lines so I added the heart punches once I had a purpose for my card. My good friend, Ann, had posted on Facebook about how she needed some positive vibes so I figured I'd send her a little 'love' on her hectic day. The heart punches were simple but added just the right little pop of color. Wish the pink was just a little brighter (hoping my new Doll Pink which is on its way will be just the color I'm looking for!) I grabbed a chocolate bar from Fresh Market when I was picking up some groceries and dropped it off with the card where Ann works hoping the little 'pick-me-up' would help her get through her long day. Let me take a moment to discuss white cardstock for those interested in what I have found with my not-so-official research. I compared 4 different types of white cardstock: Stampin' Up!'s Ultrasmooth white, Papertrey Ink's White, Paper Studio OR Recollections was the brand (can't quite remember but it's a brand carried by Michael's--they have white and vanilla in larger packs of 110 # paper) and the Neenah Classic Crest. Here are my findings and the reasons why I would choose one over another. Stampin' Up! Ultrasmooth White: You will not find a better paper to stamp on. However, this paper does not work for me when it comes to making a card base. I will always prefer this paper when I am needing to have the best possible stamped image, but would never solely use it because of its weight being inadequate for a card base. Neenah Classic Crest Solar White 110#: Wow! I guess I should have figured there was something about this particular paper seeing many people have switched to it or are using it already. This paper is smooth, though not as smooth as SU!. It's great to stamp on though and it is very sturdy so perfect for a card base that requires stamping directly onto it. FYI: I ordered the directly from Neenah because it was 'less expensive'. I did have to order 500 sheets which I know many people wouldn't want to do, but for me, it was more cost-effective for sure. The Michael's paper and the Papertrey Ink papers were nearly identical. I literally could not tell the difference between the two. In the future, I will probably just buy the packs from Michael's when they are on sale or when I have a coupon--they're super inexpensive that way compared to what I was paying for PTI. Now, some might ask why I would even bother buying that when I could just use the Neenah but there are times when I need a white card base that does not require stamping, or when I'm mounting something...I would just use the less expensive paper in those cases. What started out as something kind of fun and silly between some friends has taken on a life of its own: #TEAMBEHAPPY. We are a group of women who made a commitment of sorts to be happy in 2014. This whole idea fit perfectly with my personal 'happiness project' so needless to say, I have jumped on board. I wanted to make some cards for these women who keep me motivated and inspired so I got to work. Since I had to make 6 of them, I knew I wanted to keep it simple. I decided to use my Audrey Blue ink just because it was new and I absolutely love the color. For the record, the cardstock seems to be identical to my Papertrey Hawaiian Shores cardstock. I never had ink to match since PTI had some ink issues back then so I am very pleased to now have some! I am really liking the Simon Says Stamp paper and ink quality--will order Doll Pink next :-). Back to the card! Kept it clean and paired it with black. I typed out our hashtag and then stamped the sentiment from my Good Times stamp set. Stamping seven little people in a row was probably the trickiest part of the card but I managed just fine after a couple of goofs :-).
Every woman in the group brings something different to the table and it was nice to take a moment and just kind of acknowledge each one of them. I typically make cards and never send them or give them to anyone so that is something I am trying to change. This project was the perfect kick-off to what will hopefully be a continued practice! Other supplies: Memento Black Ink, Michael's white 110# cardstock, Audrey Blue cardstock (Simon Says Stamp), Stampin' Up! DSP, SU! Dimensionals, Colorbox Chalk Ink |
AuthorKaren Kelly Archives
February 2016
CategoriesFavorite DesignersKristina Werner
Julie Ebersole Jennifer McGuire Cristina Kowalczyk Laura Bassen Emily Leiphart Shari Carroll Kelly Purkey Dawn McVey Debby Hughes Favorite Places to Spend $$$Published Work |